How to Add Beautiful Curve Section Graphics to Your Website Using ShapeDivider.app
📅July 26, 2025
How to Add Beautiful Curve Section Graphics to Your Website Using ShapeDivider.app
Modern websites thrive on visuals — and one powerful, underrated design trick is using curved or angled section dividers between content blocks. They break the monotony, improve flow, and make your layout pop. The good news? You don’t need Figma or Illustrator to do it.
Meet ShapeDivider.app — a free browser tool that lets you generate SVG shape dividers instantly for your site or app.
Why Use Shape Dividers?
Shape dividers help:
Add personality to your layout
Create a smoother transition between sections
Keep users engaged while scrolling
Match your brand aesthetic with clean, responsive shapes
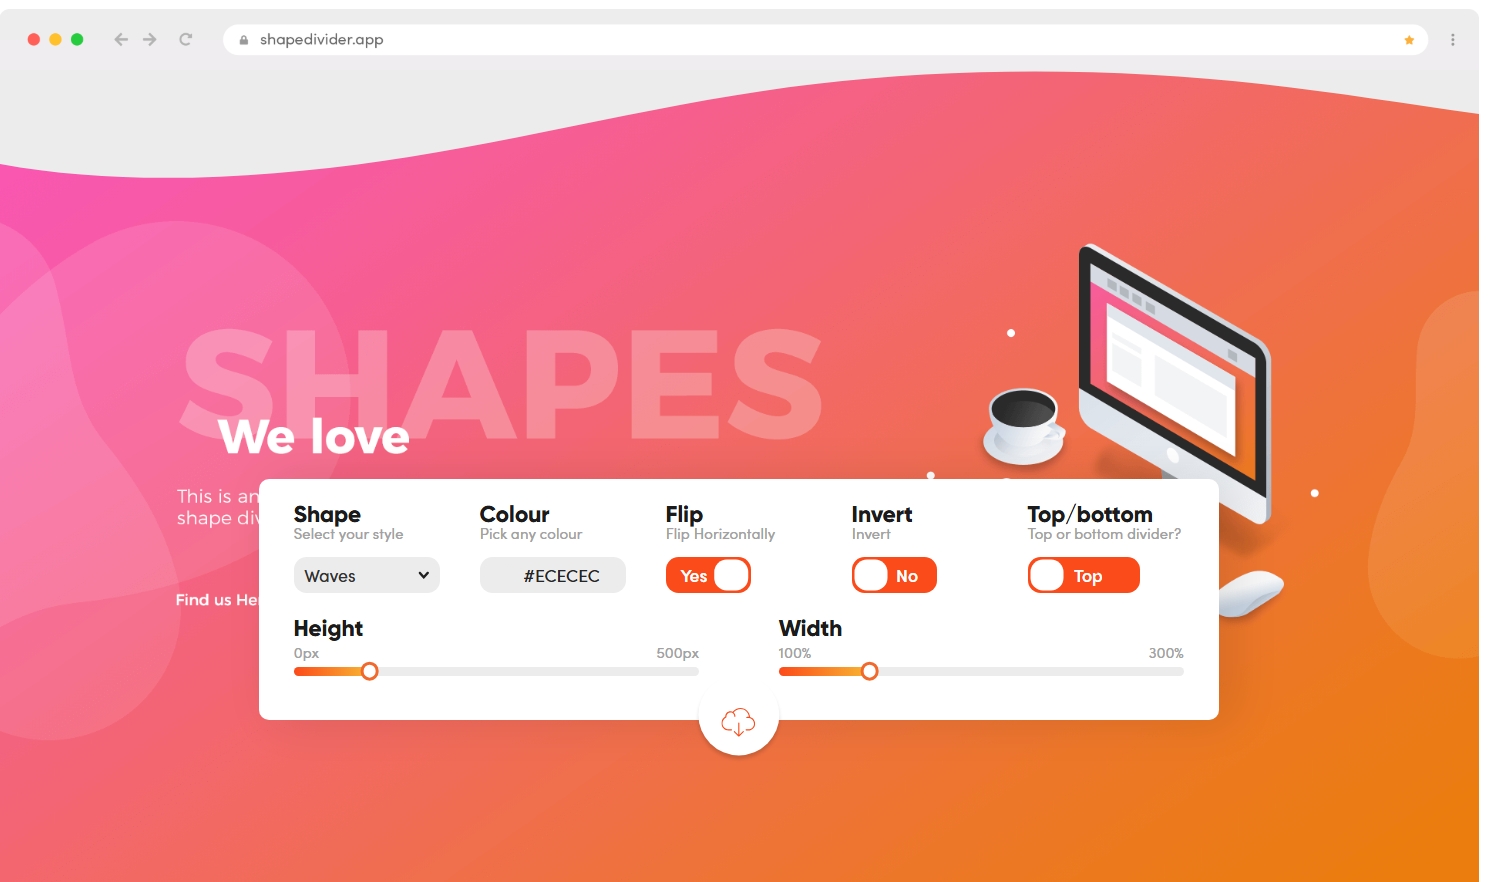
Go to shapedivider.app
Choose a shape: wave, triangle, curve, tilt, etc.
Adjust the height, color, direction (flip/invert)
Copy the SVG code or CSS snippet
Paste it into your HTML between sections
<section class="top-section">
  <h2>Welcome</h2>
</section>

<div class="shape-divider">
  <!-- Paste SVG from ShapeDivider here -->
</div>

<section class="bottom-section">
  <p>Next section content...</p>
</section>
You can even animate it or layer it with backgrounds for more depth.
Final Thoughts
If you want to create eye-catching designs without complex tools or custom SVG drawing, ShapeDivider.app is your go-to. It’s fast, free, and incredibly useful for:
Blogs
Landing pages
Portfolios
SaaS sites
Mobile apps (with webviews or React Native Web)
👉 Try it now: https://shapedivider.app
Let your sections flow — beautifully.